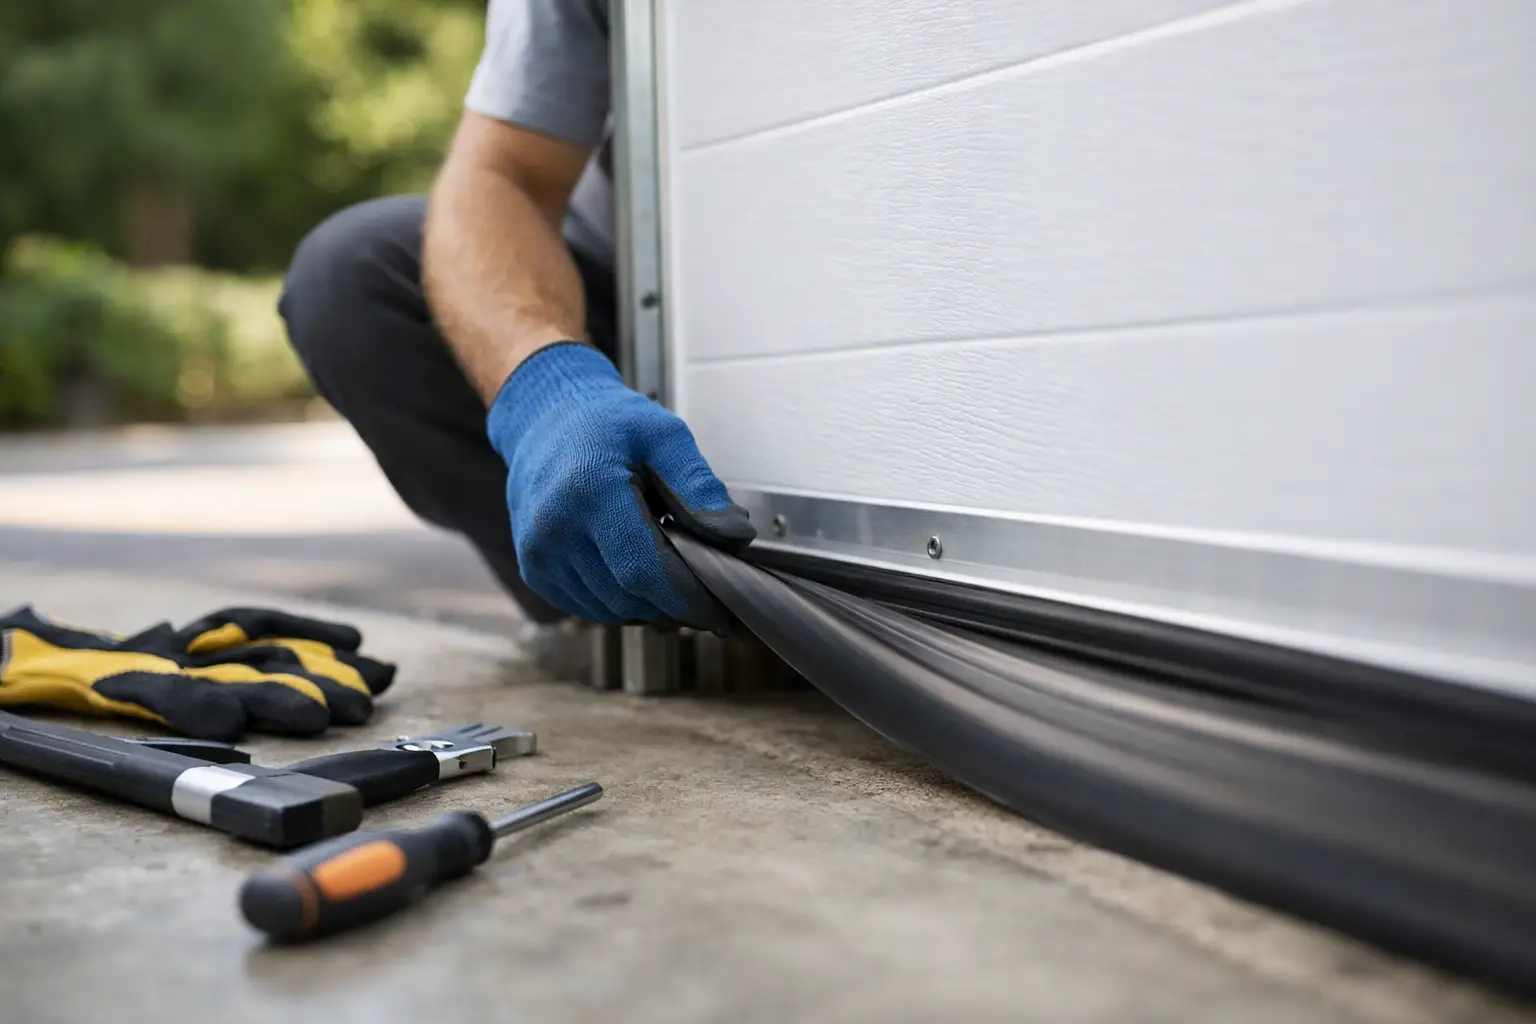
A worn bottom seal can turn a closed garage door into an open invitation for dust, bugs, heat, and water. If you can see daylight under the door, find leaves blowing inside, or notice a hard, cracked strip of rubber at the floor, it may be time to replace garage door bottom seal material before the problem gets worse.
For homeowners in Gilbert and across the East Valley, this is more than a cosmetic repair. Arizona sun and extreme heat can dry out rubber and vinyl faster than many people expect. The right replacement seal helps protect the garage, improves the door’s fit, and keeps your home a little cleaner and more comfortable.
Know When the Bottom Seal Needs Replacing
The bottom seal is the flexible rubber or vinyl strip attached to the lower edge of the garage door. When the door closes, it compresses against the concrete to close small gaps. It will not make an uneven garage floor perfectly airtight, but a good seal should sit firmly against the slab from one side of the opening to the other.
A seal is usually ready for replacement when it is cracked, flattened, torn, brittle, or pulling out of its track. You may also notice rodents or insects getting in, water entering during a monsoon storm, or dust collecting along the inside edge of the door. If the seal looks fine but there is a gap in just one area, the issue could be the door’s travel limit, track alignment, or an uneven floor instead.
Do not assume a new seal alone will fix every draft. Garage doors need to close level, and the bottom section needs to be in good condition for the seal to do its job.
Identify the Seal and Retainer Before You Buy
The most common mistake in a garage door bottom seal replacement is buying a strip that does not fit the metal retainer. The retainer is the channel mounted along the bottom of the door. Different doors use different channel styles, and seals that look similar can slide in very differently.
Many residential doors use a T-style or bead-style seal that slides through a track. Others use a bulb seal, an astragal-style seal, or a U-shaped seal that wraps around the bottom of the door. Some older wood doors have a nailed-on strip rather than a slide-in retainer. Commercial doors can also use heavier-duty materials designed for frequent use and larger openings.
Before shopping, close the door and inspect the seal from inside the garage. Take a photo of the retainer profile and measure the door width. If the old seal is still intact enough to remove a small section, measure the width of its T-end or bead as well. This extra step can save you a return trip and a frustrating installation day.
For a door exposed to intense Arizona heat, choose a quality EPDM rubber or durable vinyl product rated for outdoor use. Lower-cost materials may work initially, but they can harden and shrink sooner under constant sun and high temperatures.
Tools You Will Usually Need
Most slide-in seal jobs are manageable with basic tools and a little patience. Gather a tape measure, utility knife or heavy scissors, flathead screwdriver, pliers, mild soap and water, and silicone-based lubricant if the new seal is difficult to slide into the track.
Avoid petroleum-based lubricants on rubber or vinyl. They can leave a messy residue and may damage certain materials over time. A small amount of silicone spray on the retainer channel is usually enough to help the seal move without forcing it.
It also helps to have a helper for wide or double garage doors. The seal is long, flexible, and easier to guide when one person feeds it while the other pulls it through the channel.
How to Replace a Garage Door Bottom Seal
Start with the garage door fully closed. This is the safest position for working on the bottom edge, and it gives you a clear way to check the final fit against the floor. Unplug the opener or turn off its power so no one accidentally operates the door while you are working.
Do not loosen brackets, cables, springs, or bottom fixtures. Those components can be under serious tension and should only be handled by a trained garage door technician.
Remove the Old Seal
Look at each end of the retainer for screws, crimped metal, or a small stop that keeps the seal from sliding out. Remove any end screws or gently straighten the crimp with pliers. Then pull the old seal out from one end of the channel.
If it is brittle, it may break into pieces. That is normal on an older seal. Use a flathead screwdriver carefully to remove leftover material from the track, but do not bend the retainer. A bent channel can make the new seal difficult to install and can cause it to pull loose later.
Once the old material is out, clean dirt, rust flakes, and debris from the retainer. Warm water with mild soap works well. Let the channel dry before installing the replacement strip.
Slide in the New Bottom Seal
Measure the new seal against the width of the door, but do not cut it first if you can avoid it. Feed one end into the retainer channel and slide it through until the seal extends past both ends of the door. A helper can hold and guide the seal so it does not twist or bunch.
If it binds, stop pulling hard. Check that the seal is entering the correct channel and is not folded over. Apply a light amount of silicone lubricant inside the track, then try again. Forcing it can stretch the seal, tear the T-end, or distort the retainer.
After the seal is centered, trim the excess with a sharp utility knife. Leave just enough material at each end to fill the channel neatly without curling or hanging loose. Reinstall the end screws or lightly crimp the retainer edge to prevent the seal from sliding sideways.
Test the Door’s Contact With the Floor
With the work area clear, restore power to the opener and run the door closed. Check the seal from inside the garage. It should compress gently across the concrete without folding under, dragging excessively, or leaving obvious daylight gaps.
If there is still a gap on one side, check whether the concrete slopes or dips. A larger bulb-style seal may help with minor floor irregularities. However, a door that stops too high, closes crooked, or reverses unexpectedly needs professional adjustment. Changing opener force settings without understanding the cause can create a safety problem.
Common Problems After Replacing a Garage Door Bottom Seal
A new seal sometimes needs a few days to relax into shape, especially if it arrived tightly coiled. Mild warmth can help it lie flatter, but do not use an open flame or excessive heat near the door.
If the seal keeps coming out of the track, the retainer may be bent, worn, or the wrong size for the replacement strip. If water is still entering under the door, the floor may have low spots or the door may need adjustment. Side gaps are different from bottom gaps and usually point to worn weatherstripping along the jambs rather than the bottom seal.
You should also check the lower door panel for rust, rot, or damage. A warped bottom section can prevent even a perfect new seal from making full contact with the floor.
When It Makes Sense to Call a Garage Door Pro
Replacing a straightforward slide-in seal is a reasonable DIY project for many homeowners. Still, calling for help is the smart move when the bottom retainer is damaged, the door will not close evenly, the seal installation requires removing bottom brackets, or you are unsure which seal profile fits your door.
A technician can inspect the full system, including the bottom section, tracks, rollers, opener settings, and weatherstripping. That matters because a garage door that is out of alignment can wear out a brand-new seal quickly. For fast, reliable help with seals, door adjustments, and complete garage door repairs, Riggs Rescue AZ can provide clear recommendations and no-surprise guidance.
A new bottom seal is a small repair that can make the garage feel noticeably more protected. If the door still leaves gaps after installation, do not keep fighting it – getting the fit checked now can prevent bigger wear, water, and pest problems later.

Leave a Reply