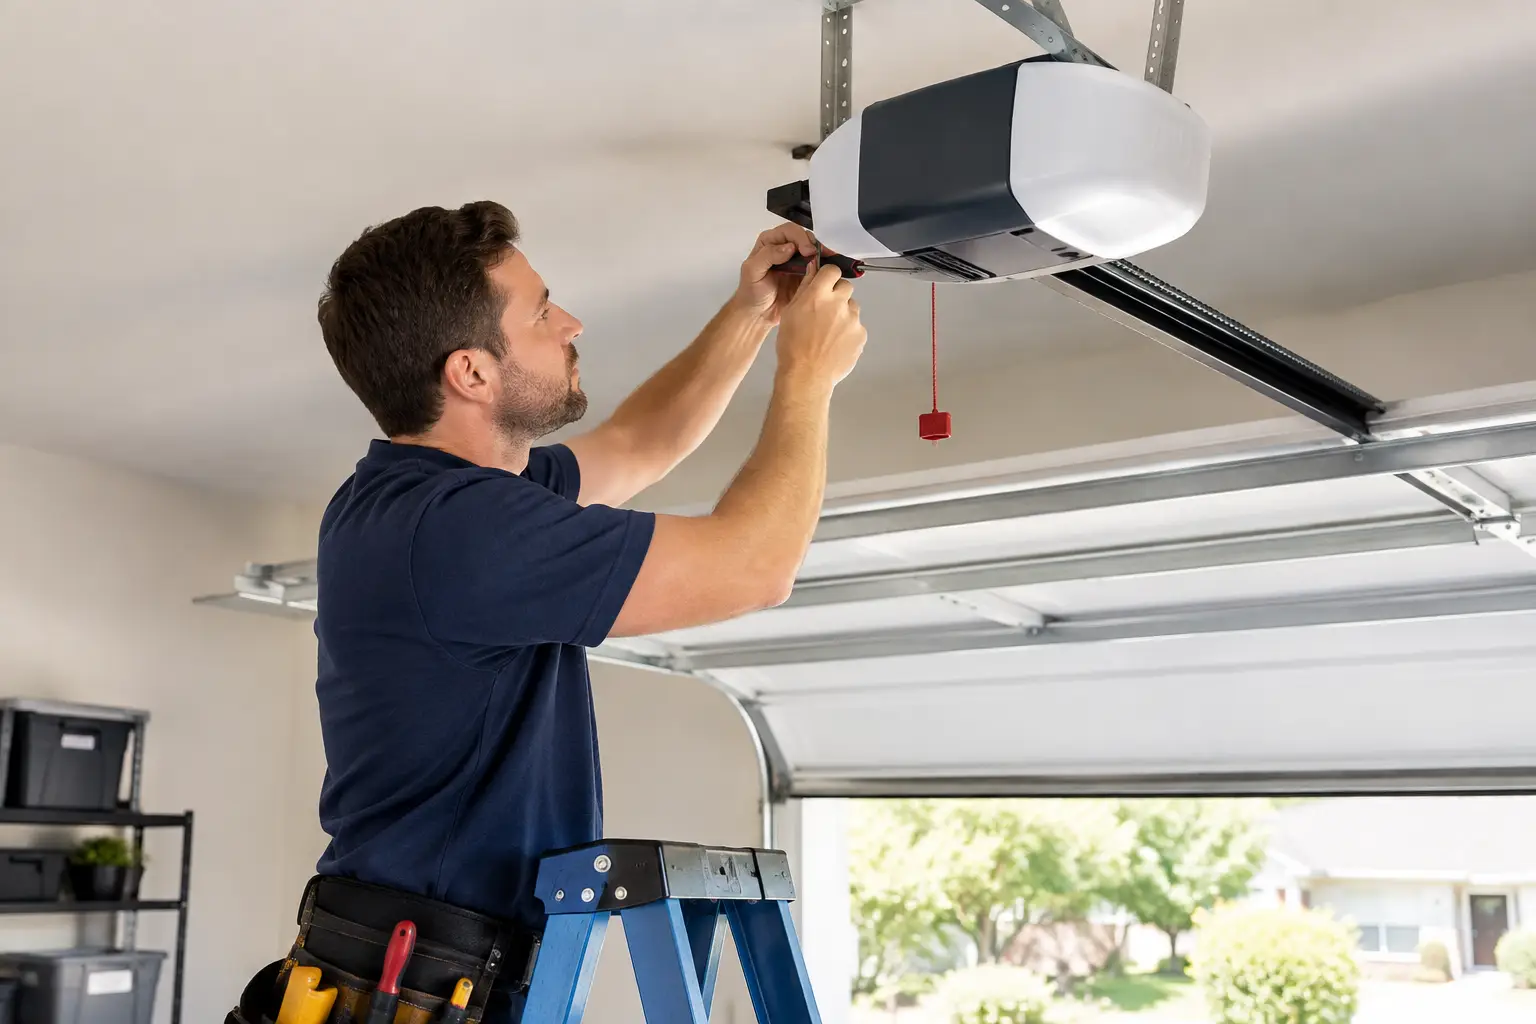
A garage door opener should make leaving for work, getting the kids inside, and securing your home feel simple. This opener installation guide helps you plan the job the right way, from choosing an opener that fits your door to recognizing when professional installation is the safer, more affordable call.
For many homeowners, the opener is only noticed when it stops responding, makes a grinding sound, or leaves the garage door halfway open. A replacement can restore convenience quickly, but the door and opener have to work as one system. Installing a powerful new opener on a door that is out of balance, damaged, or too heavy can create bigger problems fast.
Start With the Door, Not the Opener
Before ordering equipment or scheduling installation, check the condition of the garage door itself. Disconnect the existing opener using the emergency release only when the door is fully closed. Then lift the door by hand. A properly balanced door should move smoothly and stay near the halfway point without dropping hard or flying upward.
If the door is difficult to lift, moves unevenly, has frayed cables, or slams shut, pause the opener project. The issue may be worn rollers, track alignment, springs, cables, or another door component. An opener is designed to guide a balanced door, not muscle a failing door through its travel.
This distinction matters for safety and for your budget. Replacing an opener when the real problem is a broken spring can leave you with a new unit that still will not operate correctly. Garage door springs and high-tension cables are not a DIY repair. They can cause serious injury if handled incorrectly.
Choosing the Right Garage Door Opener
The best opener depends on your door’s size, weight, construction, and how you use the garage. A standard single or double residential door often works well with a 1/2 or 3/4 horsepower-equivalent opener. Heavier insulated doors, wood doors, oversized doors, and high-use doors may need more lifting capability. The door’s balance remains the priority, regardless of motor strength.
Drive type changes the day-to-day experience. Chain-drive openers are dependable and typically cost less, but they are louder. Belt-drive models are a popular choice for attached garages because they run more quietly. Screw-drive and wall-mounted jackshaft openers can fit specific setups, although compatibility depends on the door, track, headroom, and available side clearance.
Do not buy based on horsepower alone. Consider the features you will actually use: battery backup for outages, Wi-Fi controls for checking door status, motion-detecting lights, a camera, keypad entry, and vehicle compatibility. Smart features are convenient, but they do not replace safe installation and a properly functioning photo-eye system.
For a small business or property with a commercial door, residential equipment is rarely the answer. Commercial operators are selected around door weight, cycle frequency, security needs, and the building’s access requirements. The wrong unit can lead to repeat downtime and avoidable replacement costs.
Opener Installation Guide: Prepare Before You Begin
A new opener usually includes a rail, motor unit, wall control, safety sensors, remotes, mounting hardware, and installation instructions. Read the manufacturer’s manual for the exact model before opening every package or drilling into the ceiling. Mounting measurements, wiring terminals, travel-limit setup, and safety requirements vary by manufacturer.
Make sure you have a stable ladder, drill and appropriate bits, socket set, level, tape measure, locking pliers, and eye protection. You also need a grounded outlet near the opener location. Avoid using an extension cord as a permanent power source. If there is no proper outlet, arrange electrical work before the opener is installed.
Inspect the garage ceiling for a secure place to hang the motor unit. The opener must be supported from solid framing using proper angle iron or an approved mounting system. Do not attach it to drywall alone. Confirm that the center bracket above the door is secure as well, since it supports the opener rail at the header.
It also helps to clear vehicles, storage, and floor clutter from the garage. You need room to move a ladder safely and test the door’s full travel after installation.
What a Proper Installation Involves
The general process is straightforward on paper, but precision makes the difference between a quiet, dependable system and one that strains every time it runs. First, the rail is assembled and connected to the motor unit. Next, the rail is mounted to the header bracket and the motor is hung level from the ceiling structure.
The trolley and door arm are then connected to the garage door. This connection must use the correct reinforcement hardware for the door. Many modern steel doors need an opener reinforcement bracket to prevent the top section from bending or cracking over time.
The safety sensors are installed low on each side of the door opening, facing one another. These photo eyes must be aligned, securely mounted, and wired correctly. If something crosses their invisible beam while the door is closing, the door should reverse. Never bypass, tape over, or disable these sensors. They are a critical safety feature, especially in homes with children, pets, or active driveways.
After wiring the wall control and plugging in the unit, the opener’s travel limits and closing force are programmed. The door should open fully without hitting hard at the top and close firmly without excessive pressure at the floor. Too much closing force can damage the door or create a safety risk. Too little can cause the door to reverse before it is closed.
Finally, program remotes, keypads, and smart controls, then test every safety function. A good installation includes more than seeing the door go up and down once.
Tests That Should Never Be Skipped
After an opener installation, run the door through several complete open-and-close cycles. Listen for rubbing, rattling, jerking, or unusually loud motor noise. Confirm the door does not bind in the tracks and that the rail stays stable during operation.
Test the photo eyes by placing an object in the doorway while the door is closing. The door should reverse before touching the object. Test the auto-reverse function according to the manufacturer’s instructions, usually with a small obstruction placed on the floor under the door. Also test the manual emergency release so you know how to operate the door during a power outage.
If your opener has battery backup, check it too. Arizona storms and neighborhood outages are not the time to discover that the backup battery is disconnected or dead. Check remote range from the driveway and make sure the wall control, keypad, and app access work as expected.
When Professional Installation Is the Better Choice
Some homeowners are comfortable assembling and mounting an opener, particularly in a newer garage with a balanced door, proper outlet, and standard ceiling framing. Even then, the job can take several hours and may require a second person to safely lift and position equipment.
Professional installation makes more sense when the door is heavy, the garage has high ceilings, the existing mounting hardware is questionable, or the old opener failed for unclear reasons. It is also a smart choice when you want a wall-mounted opener, a battery backup setup, a smart-home connection, or a commercial-grade system.
A trained technician can check the door balance, springs, rollers, cables, track, reinforcement bracket, and safety sensors before mounting the new unit. That inspection often prevents a new opener from being blamed for an older door issue. It also gives you a clear answer about what needs attention now and what can wait.
For homeowners in Gilbert, Mesa, Chandler, Queen Creek, and nearby East Valley communities, Riggs Rescue AZ can install or replace garage door openers with honest guidance and transparent pricing. The goal is not to sell more features than you need. It is to leave you with an opener that fits your door, your routine, and your budget.
A garage door is the largest moving object in most homes, so convenience should never come at the expense of safety. If the installation raises questions about balance, cables, mounting, wiring, or reversing sensors, stop there and get experienced help. A correctly installed opener gives you the dependable access you expected – without the surprises you did not.

Leave a Reply