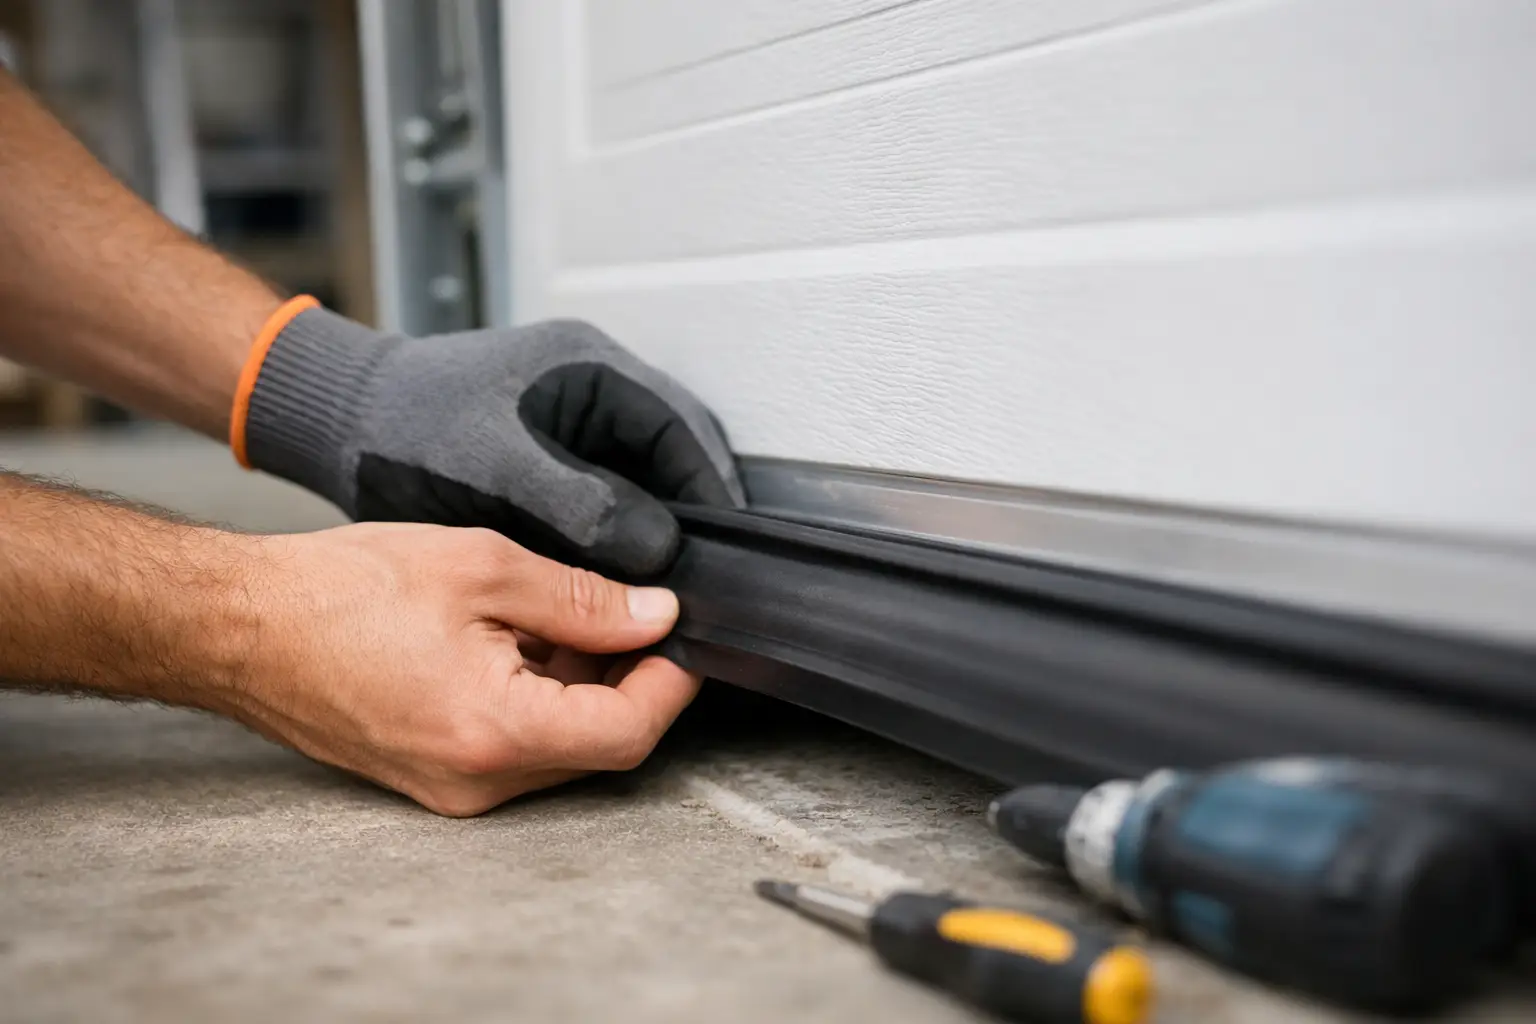
That thin strip around the bottom and sides of your garage door does more work than most homeowners realize. When it cracks, flattens, or pulls away, Arizona dust, heat, insects, and wind-driven rain can find their way inside. Learning how to install garage door weatherstripping can help create a cleaner, more comfortable garage without replacing the entire door.
A good seal should touch the concrete and door frame without squeezing so hard that the door binds. That balance matters. Weatherstripping is a manageable DIY project when the door is operating properly, but a worn door, uneven floor, or damaged track can turn a simple seal replacement into a frustrating repair.
Know Which Garage Door Weatherstripping You Need
Garage door weatherstripping is not one universal part. Before buying material, look at where the gap is and how your door closes. Most homes need one or more of three common seal types.
The bottom seal attaches to the lower edge of the garage door and compresses against the floor when the door shuts. It is usually vinyl or rubber and may slide into a retainer channel or fasten directly to the door with screws. Bottom seals are especially helpful for keeping out dust, leaves, insects, and light rain.
Side and top weatherstripping, often called stop molding or perimeter seal, attaches to the garage door frame. Its flexible flap rests against the front of the closed door. If you can see daylight along either side or across the top, this is usually the material you need.
Some doors also use a threshold seal on the concrete floor. This raised rubber strip gives the bottom seal a better surface to close against. It can be useful when a garage floor is uneven or slopes outward, but it is not always the first fix. If the door itself is out of alignment, a threshold alone will not correct the problem.
Check the Door Before You Install Garage Door Weatherstripping
Weatherstripping cannot compensate for a door that is crooked, sagging, or not closing fully. Start with a quick inspection while the door is closed. Look for light around the perimeter, gaps at the corners, and places where the existing material has become brittle or detached.
Then operate the door and listen. It should move smoothly without scraping, jerking, or stopping short of the floor. If one side reaches the ground before the other, the cables, tracks, rollers, or door sections may need professional attention first. Do not adjust garage door springs or lift cables yourself. Those components are under serious tension and can cause injury.
Also inspect the concrete. Small variations are normal, especially in older garages. A large dip near one corner may call for a wider bottom seal, a threshold, or an evaluation of the door’s closing position. The goal is to seal the opening without forcing the opener to work harder than it should.
Tools and Materials to Gather
For a typical weatherstripping replacement, you will need a tape measure, pencil, utility knife or heavy-duty scissors, drill or screwdriver, and the correct replacement seal. Have a step stool available for the top perimeter seal and wear gloves when handling sharp metal trim or old fasteners.
If you are replacing side and top stop molding, choose material designed for garage doors rather than ordinary foam tape. Foam tape may seem like a quick fix, but it often fails in high heat and does not hold up well against repeated door movement. In Gilbert, Mesa, Chandler, and nearby East Valley communities, sun exposure and temperature swings can make durable vinyl material the better value.
For a bottom seal, measure the width of the door and check the shape of the existing retainer. A T-end, bead-end, and bulb-style seal are not interchangeable. Removing a small sample or taking a clear photo of the channel can prevent a second trip to the hardware store.
Replacing the Bottom Seal
Begin with the garage door fully closed and the automatic opener unplugged or disengaged. You do not want the door moving while you work near its bottom edge. For easier access, some homeowners raise the door slightly and secure it safely, but working with the door closed is often simpler for a basic seal swap.
Remove the old bottom seal from one end. If it slides through a metal or plastic retainer, loosen any end screws or crimped tabs that keep it in place. Pull the old material out slowly. Dirt and hardened rubber can make this harder than expected, so clean the channel before feeding in the new seal.
Measure the new seal a few inches longer than the door width. It is easier to trim excess material after it is installed than to stretch a seal that was cut too short. Lightly spraying the retainer channel with soapy water can help the new seal slide through, particularly on wider doors.
Feed the seal evenly through the channel. Keep the material straight and avoid pulling it so tight that it shrinks back later. Once the seal is centered, trim the ends, secure the retainer tabs or end screws, and close the door fully. From outside, check that the seal lies flat against the floor all the way across.
A small amount of compression is correct. If the rubber is folded, buckled, or dragging excessively, the seal may be the wrong size or the door may need adjustment.
Installing Side and Top Perimeter Seals
Perimeter weatherstripping is installed with the garage door closed. This is the easiest way to position the flexible flap against the door face accurately.
Start at one vertical side. Remove the old molding carefully, then clean away loose caulk, nails, and debris from the wood or metal frame. Hold the replacement strip against the frame so its flexible flap just touches the closed door. It should rest against the door, not bend sharply or press so firmly that the door rubs when it moves.
Fasten the strip at the top and bottom first, then add fasteners along the length according to the product instructions. Check the seal as you go. If you pull the strip out of line, it can create a gap in one spot and too much pressure in another.
Repeat on the other side, then install the top strip last. Cut the top piece carefully so it meets the vertical pieces cleanly at each corner. A tight-looking corner is not only better for appearance. It is where wind, dust, and insects often get through first.
Once everything is attached, open and close the garage door several times. The door should move freely, and the seal should return to position after every cycle. If the opener strains, reverses unexpectedly, or the door rubs heavily, stop using it until the seal placement or door alignment is corrected.
Common Mistakes That Create Bigger Problems
The most common mistake is buying weatherstripping based only on door width. Width matters, but the retainer style, floor condition, and size of the gap matter too. A bottom seal that looks thick and durable may not fit your existing channel.
Another mistake is using weatherstripping to hide a mechanical problem. If the garage door is uneven, noisy, or difficult to operate, fresh vinyl will not make it reliable. It may even mask a problem until it becomes more expensive.
Avoid sealing the door so tightly that it cannot move naturally. Garage doors need a close, consistent seal, not excessive friction. This is particularly true for automatic openers, which rely on properly adjusted travel and safety settings to operate safely.
Finally, do not forget maintenance. Sweep leaves and gravel away from the threshold, wipe the seal clean periodically, and check for flattening or cracks at least once a year. Arizona heat can shorten the life of lower-quality rubber and vinyl, especially on doors that face direct afternoon sun.
When It Makes Sense to Call a Garage Door Professional
A DIY replacement is a good option when the door is level, the tracks are sound, and you are simply replacing worn material. Call for help when gaps remain after installation, the floor is severely uneven, the door will not close evenly, or the opener starts reversing after the new seal is installed.
A professional can identify whether the issue is weatherstripping, door alignment, worn rollers, bent track, damaged panels, or an opener setting. That clear diagnosis can save money compared with replacing parts that were never the real problem. Riggs Rescue AZ can inspect the full system and provide straightforward recommendations, with no surprises.
A properly sealed garage will not turn into an air-conditioned room, and weatherstripping will not solve every moisture or insulation issue. What it can do is close the everyday gaps that invite dust, pests, hot air, and rain inside. If your door still leaves daylight around the edges after a careful installation, that is your sign to get the door checked before a small gap becomes a larger repair.

Leave a Reply